
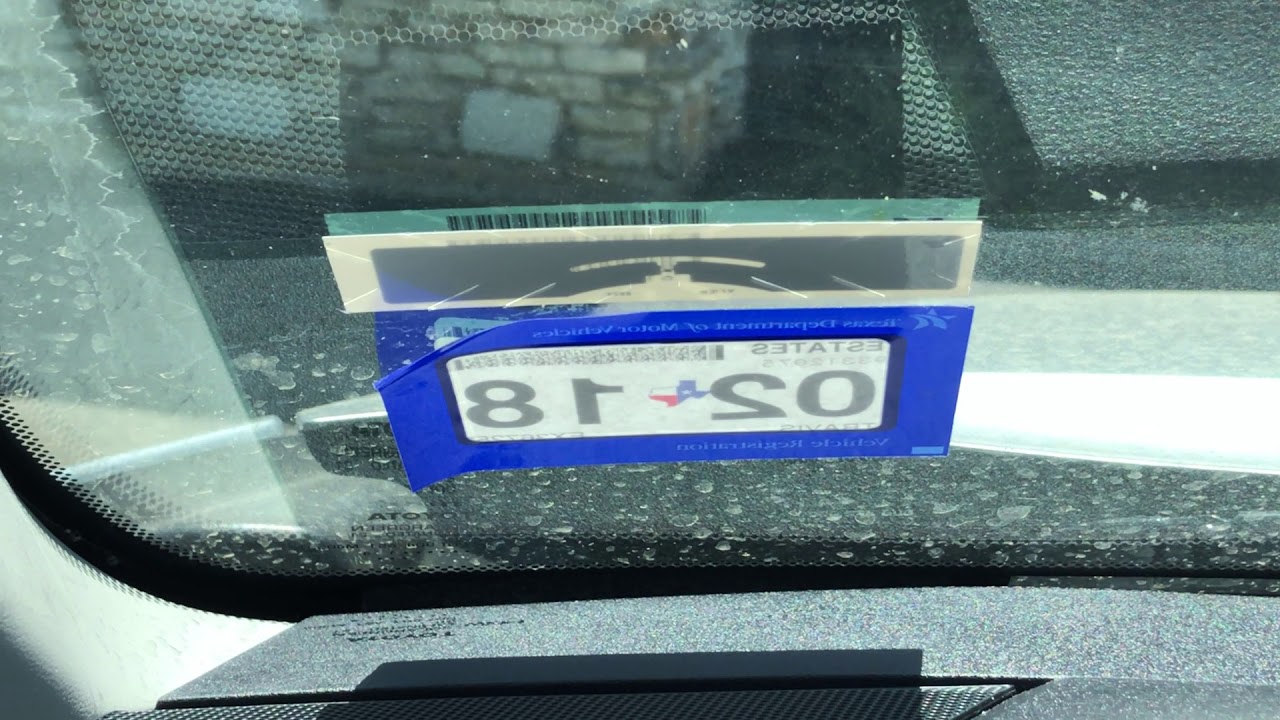
Is that old inspection sticker on your windshield driving you crazy? Maybe it’s faded, cracked, or just plain ugly, and you want it gone without leaving a sticky mess behind.
You’re not alone—removing these stubborn stickers can be tricky if you don’t know the right steps. But don’t worry, you can do this yourself quickly and safely with a few simple tools and tricks. Keep reading, and you’ll discover how to remove that inspection sticker cleanly, protect your glass, and get your windshield looking flawless again.
Prepare The Area
Start by creating a clean and safe workspace around your windshield. Proper preparation helps make sticker removal easier and prevents damage. Take a few minutes to organize your tools and protect the car’s interior.
This step ensures no mess reaches your dashboard or seats. A tidy area also helps you work more efficiently and reduces frustration.
Gather Tools
Collect everything you will need before starting. Common tools include a hairdryer, plastic scraper, microfiber cloth, and adhesive remover. Having all items at hand saves time and avoids interruptions. Choose tools that are safe for glass surfaces to avoid scratches.
Protect Dashboard
Cover your dashboard with a towel or old cloth. This protection catches any drips from cleaning liquids or adhesive residue. It also prevents scratches from tools or scraped-off sticker bits. Keeping the dashboard clean keeps your car looking good and saves cleanup time later.
Soften The Adhesive
Softening the adhesive on an inspection sticker makes it easier to remove. The glue holding the sticker to the windshield becomes less sticky when warmed. This prevents tearing and reduces residue left behind. Heat loosens the bond between the sticker and glass. Using heat tools carefully helps avoid damage to the windshield or tint. Follow simple steps to apply gentle, even heat and prepare the sticker for removal.
Use A Hairdryer
A hairdryer is a safe tool for softening sticker glue. Hold it a few inches away from the sticker. Use a medium heat setting to warm the area. Move the hairdryer in slow circles to cover the entire sticker. Heat for about two to three minutes. Avoid staying in one spot too long to prevent glass damage. The heat will make the adhesive soft and easier to peel off.
Apply Heat Evenly
Even heat distribution is key to softening the adhesive well. Uneven heat can cause parts of the sticker to stay hard. This may lead to tearing when peeling. Keep the hairdryer moving steadily across the whole sticker. Focus on edges where the sticker is hardest to lift. Check the warmth by gently touching the sticker. The surface should feel warm but not hot. Proper heat makes removal smoother and cleaner.
Apply Solvent
Applying solvent is a key step in removing inspection stickers from your windshield. It helps loosen the strong adhesive, making sticker removal easier and cleaner. Proper use of solvents prevents damage to the glass and reduces sticky residue.
Choose the right solvent to protect your windshield and achieve the best results. Letting the solvent soak ensures the glue softens well before peeling or scraping.
Choose Suitable Cleaner
Select a solvent designed for adhesives or glass cleaning. Rubbing alcohol, acetone, or commercial adhesive removers work well. Avoid harsh chemicals that can damage the glass or tint. Test the solvent on a small area first to check for any adverse reactions.
Let It Soak
Apply the solvent directly onto the sticker or use a soaked cloth. Allow the solvent to sit for at least 5 minutes. This soaking time breaks down the glue’s hold on the glass. Reapply solvent if the sticker feels stiff or difficult to lift. Patience at this stage makes peeling easier and safer.
Remove The Sticker
Removing the inspection sticker from your windshield is a simple task. It requires patience and the right method to avoid damage. Start carefully to keep your glass clean and scratch-free.
Lift Sticker Edge
Begin by finding a corner of the sticker. Use your fingernail or a plastic tool to lift the edge gently. Avoid using too much force to prevent tearing. If the edge is hard to lift, warm the sticker slightly to soften the glue.
Peel Slowly
Once the edge is lifted, peel the sticker back slowly. Pull it back at a low angle to reduce resistance. Take your time to prevent residue from sticking to the glass. If the sticker breaks, lift another edge and continue peeling.
Use Razor Or Plastic Scraper
For stubborn stickers, use a razor blade or plastic scraper carefully. Hold the blade flat and slide it under the sticker’s edge. Work slowly to avoid scratching the glass. Plastic scrapers are safer for tinted windows. Always keep the blade at a shallow angle.
Clean Residue
After removing the inspection sticker, some sticky residue often remains on the windshield. This residue can attract dirt and make your glass look dirty. Cleaning it off is important for a clear view and a neat appearance. Use safe and gentle methods to avoid scratching the glass or damaging the surface. Follow these simple steps to clean the leftover adhesive properly.
Spray Glass Cleaner
Start by spraying a good quality glass cleaner on the sticky residue. This helps to loosen the glue and makes it easier to remove. Use enough cleaner to cover the whole area but avoid soaking the dashboard below. Let the cleaner sit for a few seconds to work on the adhesive.
Scrape Gently
Use a plastic scraper or a razor blade at a shallow angle to gently lift the residue. Be careful not to scratch the glass by holding the blade almost flat. Work slowly and steadily to avoid damaging the windshield. If the residue is tough, spray more cleaner and try again.
Wipe With Microfiber Cloth
After scraping, wipe the area with a clean microfiber cloth. This removes any small bits of residue and cleaner left on the glass. Use gentle circular motions to polish the surface until it looks clear. Microfiber cloths are soft and will not scratch your windshield.
Safety Tips
Removing an inspection sticker from your windshield requires caution. Safety matters most to avoid injuries and damage. Follow these tips to protect yourself and your vehicle. Proper handling and technique make the task easier and safer.
Handle Razor With Care
Use a razor blade carefully to prevent cuts. Hold it firmly and keep fingers away from the edge. Work slowly and avoid rushing. Store the blade safely when not in use. Dispose of used blades properly to avoid accidents.
Avoid Tinted Windows
Do not use metal blades on tinted windows. The blade can scratch or peel the tint film. Instead, try a plastic scraper or adhesive remover. Protect your car’s window film to keep it intact and looking new.
Hold Blade At Shallow Angle
Keep the razor blade almost flat against the glass. A shallow angle reduces the risk of scratches. Gently slide the blade under the sticker’s edge. Apply light pressure to lift the sticker without damage.
Alternative Methods
Removing an inspection sticker from your windshield can be tricky. Some methods require special tools or chemicals. Alternative methods offer simple, safe ways to get the job done. These options work well if you want to avoid harsh solvents or don’t have heating tools.
Use Soapy Water
Soapy water softens the adhesive gently. Mix warm water with a few drops of dish soap. Apply the solution to the sticker using a sponge or cloth. Let it sit for several minutes to loosen the glue. Then, try peeling the sticker slowly from one corner. Repeat if needed until the sticker comes off completely. This method is safe and won’t damage the glass or tint.
Try Commercial Adhesive Removers
Commercial adhesive removers are designed to dissolve sticky residues. Choose a remover made for glass surfaces. Apply a small amount on the sticker or residue. Wait a few minutes for it to work. Use a plastic scraper or cloth to wipe away the softened adhesive. Clean the area afterward with glass cleaner to remove any residue. These products are effective but follow the instructions carefully to protect your windshield.
Post-removal Care
After removing the inspection sticker from your windshield, proper care helps keep your glass clear and safe. Cleaning residue and protecting your dashboard are important steps. These actions prevent damage and maintain the look of your vehicle.
Dry The Windshield
Use a clean, dry microfiber cloth to wipe the windshield. Remove all moisture and cleaning product traces. Drying prevents streaks and spots on the glass. Check the glass under sunlight for any leftover marks. Repeat wiping if needed to ensure a spotless finish.
Apply Dash Conditioner
Place a towel on your dashboard before applying conditioner. Use a dash conditioner to protect the plastic from cleaning sprays. Apply a small amount on a cloth and gently rub the dashboard. This keeps the dash from drying out or cracking. It also restores a clean, fresh look to your vehicle’s interior.
Conclusion
Removing inspection stickers from your windshield is simple with the right steps. Heat softens the glue, making peeling easier. Use a plastic scraper carefully to avoid scratches. Clean leftover residue with a solvent and a cloth. Always protect your dashboard before starting.
Taking these precautions helps keep your glass clear and undamaged. Follow this method for a smooth, sticker-free windshield every time.