
If you’ve ever looked through a windshield covered with old, bubbled, or peeling tint, you know how frustrating it can be. That tint can block your view, reduce visibility, and even make driving unsafe.
So, how do you remove tint from your windshield without damaging it or the delicate defroster lines? Whether you want to refresh your car’s look or need a clearer view on the road, this guide will walk you through the easiest and safest way to remove windshield tint at home.
Keep reading, and you’ll discover simple steps and tips that anyone can follow to get your glass looking spotless again.
Tools And Materials
Removing tint from a windshield requires specific tools and materials. Using the right items makes the job easier and safer. Prepare everything before you start. This saves time and prevents damage.
Heat Source Options
Heat softens the adhesive under the tint film. A hairdryer works well for small areas. A heat gun is better for large windshields. Keep the heat moving to avoid cracking the glass. Avoid direct, intense heat on one spot.
Safe Scrapers
Use plastic scrapers to protect the glass and defroster lines. Metal blades can scratch and damage the windshield. Plastic razor blades or credit card edges work well. Be gentle and patient to peel off the tint smoothly.
Cleaning Supplies
After removing the tint, clean the glass thoroughly. Use rubbing alcohol or an adhesive remover to clear sticky residue. Microfiber cloths help avoid scratches during cleaning. Finish with a glass cleaner for a clear, streak-free surface.
Preparing The Windshield
Before removing tint from your windshield, proper preparation is essential. Preparing the glass helps make the removal process smoother and protects your vehicle’s delicate parts. Taking time to prepare also reduces the risk of damage during tint removal. Follow these simple steps to get your windshield ready.
Cleaning The Glass
Start by cleaning the windshield thoroughly. Use a glass cleaner and a microfiber cloth. Remove dirt, dust, and grease from both sides of the glass. Clean glass allows better grip on the tint film. It also prevents scratches during removal. Avoid using harsh chemicals that can damage the glass surface.
Protecting Defroster Lines
Defroster lines on the windshield are fragile. These thin wires help clear fog and ice. Avoid scratching or breaking them during tint removal. Cover defroster lines with painter’s tape or masking tape. This creates a barrier against sharp tools like razor blades. Handle tools carefully near these lines to keep them intact.
Heating The Tint
Heating the tint on your windshield softens the adhesive. This makes peeling easier and cleaner. Applying heat reduces the risk of scratching the glass or damaging defroster lines. You can use tools like a hairdryer or heat gun. The sun also works as a natural heat source. Both methods help loosen the tint film for smooth removal.
Using A Hairdryer Or Heat Gun
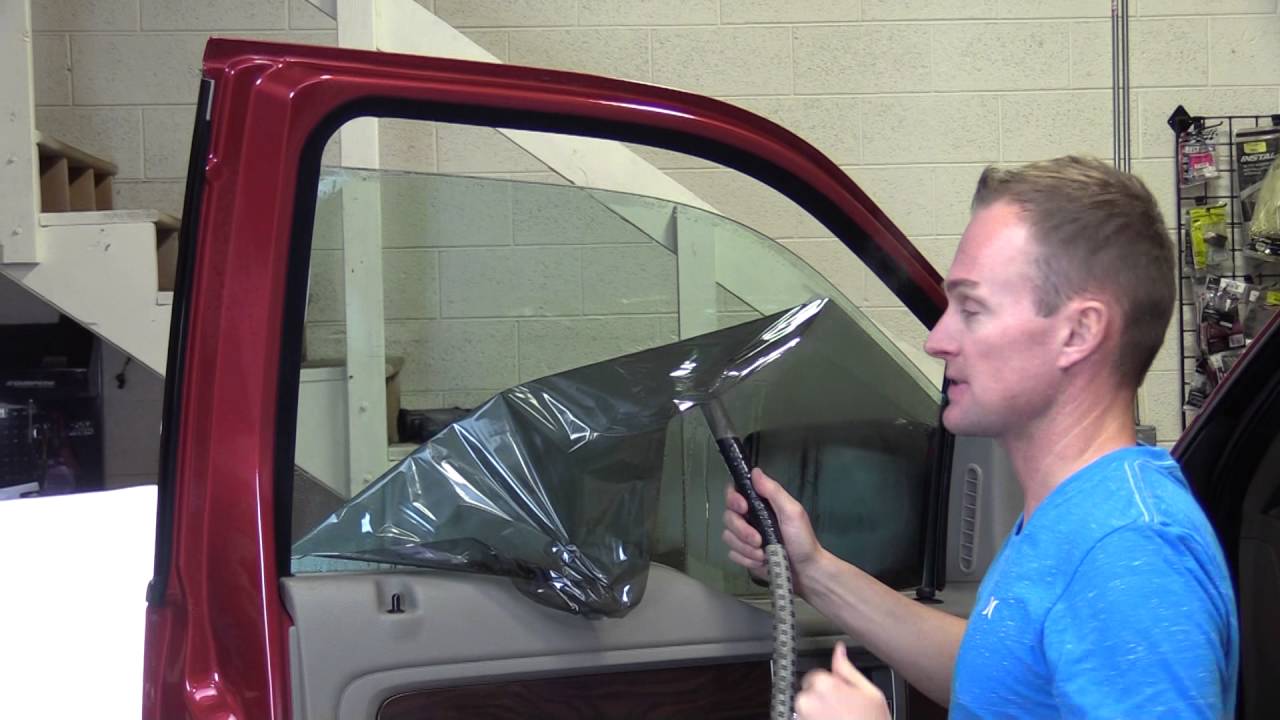
Hold a hairdryer or heat gun close to the tinted surface. Keep the tool moving to avoid overheating one spot. Focus on one small section at a time. Heat the tint until it feels warm and soft. This loosens the glue underneath. Start peeling the tint gently from the corner. Heat again if the tint resists or tears. Be careful not to burn the glass or your fingers.
Alternative Sun Heat Method
Park your car under direct sunlight on a warm day. The sun’s heat warms the windshield naturally. Leave the car in the sun for at least 30 minutes. Check if the tint feels warm to touch. Use a plastic scraper or your fingernail to lift a corner. The heat softens the adhesive, making the tint easier to peel. This method is gentle and requires no extra tools.
Peeling The Tint
Peeling the tint off your windshield is a key step in removal. It requires patience and care to avoid damage. The tint film can be stubborn and tricky to lift. Follow simple steps to make the process smoother. Take your time and work carefully for the best results.
Lifting A Corner
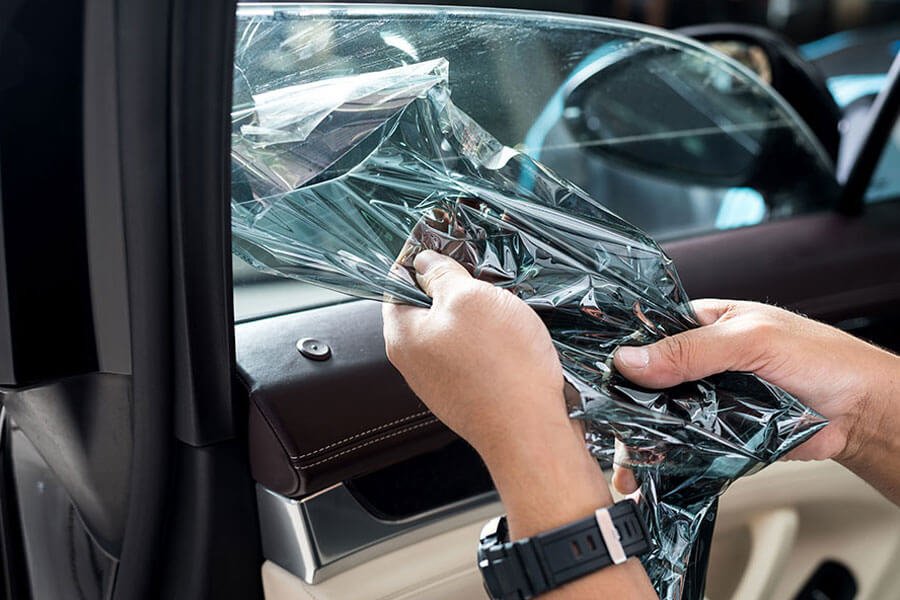
Start by finding a loose edge or corner of the tint. Use your fingernail or a plastic card to lift it gently. Avoid metal tools as they can scratch the glass. Once you lift a corner, grab it firmly but carefully. This gives you a starting point to peel the rest of the film.
Slow And Steady Removal
Pull the tint slowly at a low angle. Fast pulling can tear the film or leave adhesive behind. Keep the film close to the glass to reduce stress. Work in small sections for easier handling. If the tint resists, pause and try a different angle. Patience helps remove the tint in one piece.
Handling Film Tears
Tears happen, especially with old or damaged tint. Use clear tape on torn areas to hold pieces together. Press the tape firmly to catch loose bits. Peel the tint slowly, using the tape to keep it intact. If pieces break off, use a scraper to remove leftover bits carefully.
Removing Adhesive Residue
Removing adhesive residue after peeling off windshield tint is crucial for a clean finish. The sticky remains can blur your view and attract dirt. This section explains easy methods to clear the residue safely without damaging the glass. Follow simple steps for a spotless windshield.
Soapy Water Application
Start by mixing warm water with mild dish soap. Use a soft cloth soaked in the solution to rub the adhesive gently. The soap helps break down the sticky film. Wipe in circular motions for better results. Rinse with clean water and dry with a microfiber towel. Repeat if residue persists.
Ammonia-based Cleaner Use
Ammonia cleaners dissolve tough adhesive effectively. Spray the cleaner directly on the residue. Let it sit for a few minutes to soften the glue. Use a clean cloth to wipe off the adhesive carefully. Work in a well-ventilated area to avoid inhaling fumes. Avoid contact with defroster lines to prevent damage.
Gentle Scraping Techniques
Use a plastic scraper or old credit card for scraping. Avoid metal tools as they can scratch the glass. Hold the scraper at a low angle to lift the residue. Apply steady, gentle pressure without forcing it. Combine scraping with soapy water or ammonia cleaner for easier removal. Clean the windshield afterward to remove leftover bits.
Final Cleaning
After successfully removing the tint from your windshield, the final cleaning step is crucial. It ensures the glass is spotless and free from any leftover adhesive or dirt. A clean windshield improves visibility and safety while driving.
Use the right cleaning methods to avoid streaks or scratches. This step also restores the glass to its original clear condition. Proper cleaning will make your windshield look like new.
Glass Cleaner Tips
Choose a high-quality glass cleaner designed for automotive use. Spray the cleaner evenly on the glass surface. Use a clean microfiber cloth to wipe the glass gently. Avoid paper towels since they can leave lint behind.
Work in small sections to prevent the cleaner from drying too fast. Use circular motions to remove any stubborn spots or residue. Change to a dry part of the cloth to buff the glass to a shine. Repeat if needed until the glass is clear and streak-free.
Ensuring Clear Visibility
Check the windshield from different angles to spot any missed areas. Clean both inside and outside surfaces for best results. Make sure no adhesive residue remains, especially near the edges.
Use a light source or sunlight to inspect the glass for any smudges. Clear visibility is vital for safe driving, especially at night or in bad weather. Take your time to ensure every part of the windshield is spotless.
Avoiding Common Issues
Removing tint from a windshield requires care to avoid damage. Many people rush the job and face problems like scratches or broken defroster lines. Taking simple steps can protect your windshield and make the process smoother. Follow these tips to avoid common issues.
Protecting Windshield Components
Windshields have delicate parts like defroster lines and sensors. Avoid using sharp metal tools near these areas. Use plastic scrapers instead. Keep heat sources at a safe distance to prevent damage. Cover areas around the tint with tape to protect components. Gentle handling reduces the risk of costly repairs.
Preventing Scratches
Scratches ruin your windshield’s clarity and look. Avoid using rough or dirty cloths during tint removal. Use soft microfiber cloths for cleaning. Work slowly and carefully when scraping off tint. Apply a lubricant like soapy water to ease removal. This reduces friction and stops scratches from forming.
Cost Considerations
Removing tint from a windshield involves costs that vary based on method and location. Understanding these costs helps in deciding the best approach. Expenses include materials, labor, and possible damages during removal. It is important to budget wisely before starting the process.
Costs differ greatly between doing it yourself and hiring a professional. Each option has its own price points and risks.
Diy Vs Professional Removal
DIY removal saves money on labor but requires buying tools and supplies. Common tools include razor blades, heat guns, and cleaning solutions. These items may cost between $10 and $50. DIY also demands time and patience, and there is a risk of scratching or damaging the glass.
Professional services charge for skill and convenience. They use specialized tools and techniques to remove tint safely and quickly. This option reduces risk and effort but costs more.
Typical Price Ranges
Professional removal prices usually range from $75 to $150 for a full front windshield. Prices depend on tint type and vehicle size. Smaller jobs, like removing a top strip, may cost around $25.
DIY costs vary based on tools and products chosen. The total expense is often lower but requires time and care. Consider your budget and skills before deciding.
Conclusion
Removing tint from your windshield is manageable with patience and the right tools. Heat softens the adhesive, making peeling easier. Use a scraper carefully to avoid glass damage. Clean leftover glue with soapy water or ammonia solution. Take your time for the best results.
Clear glass improves your driving safety and visibility. Simple steps lead to a smooth, tint-free windshield. Keep safety in mind throughout the process. Now, your windshield looks fresh and clean again.